Try, try again…
Last time we talked, I was pretty enthusiastic about these meringues. First off, they look amazing on the cover of bon appetit. Magical, really. Light, crisp and pink, they seemed like a dreamy addition to any holiday cookie assortment. I must diverge just a tad and admit that the whole cookie spread was amazing and I want to bake most everything featured. Adam, thank you for making my world more beautiful! But first things first, those meringues…
 When my copy first arrived, I knew it was time to start with the holiday baking. The meringues looked too cute to be passed up. Never mind the fact that I’d never made meringues, didn’t even have all of the needed equipment, and hello, this is the cover photo of a magazine. Note to self, when something appears on the cover of a magazine, beware! Knowing that a recipe made it onto the cover means several things, just one of those being that your expectations going into the project are likely much, much higher than they should be.
But, I’m willing to give it a go. So, I go and I buy the equipment. I was thinking about buying a pastry bag last Christmas when I was wrapped up in the idea of making french macaroons, but I didn’t do it. (As luck would have it, there is also a macaroon recipe in the same article as the meringues, so maybe I’ll be able to put this pastry bag to good use.) Now, with two ideas on how such a tool could be used, I put aside my concerns about adding to my overall kitchen clutter and purchased a pastry bag, along with a couple of simple tips. It is foldable, after all! I check the cupboards for peppermint extract and red food coloring, which is not really a staple at my house. Really, it’s a simple recipe, most everything else is bound to be available in your pantry.
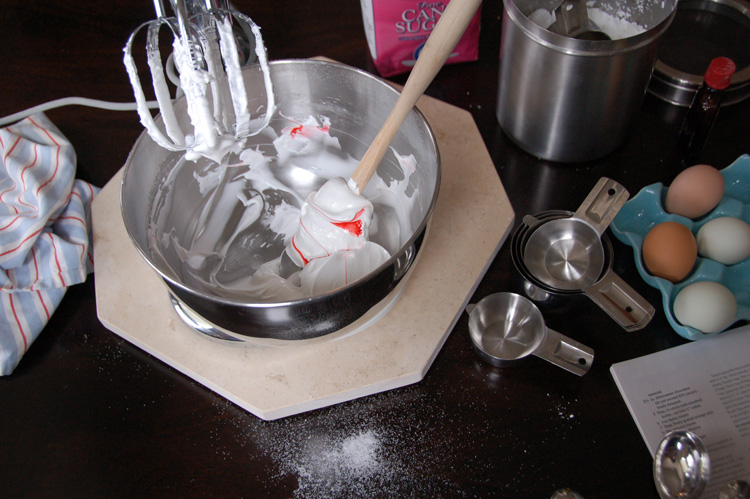
Fast forward to my first attempt, the egg whites are standing up in perfect peaks, my son is delighted with the whirring of the mixer. Then, I add the peppermint extract. Minty, fresh and devastating! I watch my meringue disappear into puddles, a glossy, soupy froth in the bottom of the mixer. My heart is sinking, I know that this, what ever “this” is, is just not right. But I am not baking alone and I’ve come this far and don’t intend to turn back. And despite the utter failure of the meringue, we manage to put something in the oven, knowing full well that nothing magical is going to happen while they bake. The peppermint puddles dry well, but are nothing to speak of.
Looking at them sitting there are on the tray brings me back to that beautiful cover. What did I do wrong? Apparently I shouldn’t be dabbling in meringues. I’m annoyed to have wasted my time and ingrediants on the puddles. Turns out I can be pretty good at beating myself up for things. There is really little need to suggest introspection to me after a mistake.
Coming into round two, I am a little suspicious of that peppermint extract. I think that was a culprit in my first attempt. After a week, I’m willing to give it another chance. I’m at that crucial moment, perfect peaks, spinning round in the mixer. Now it’s time to add the peppermint extract. And I add it, one drop at a time. One, two…siiiinkk…three. We’re done. At three drops, there is no way I am adding another, not matter how short I am of the 1/8th of a teaspoon that’s called for. The mixer keeps on, whirring the meringue around and around. And it’s holding! At this moment, I know that the outcome is going to be much better, even if it’s not cover-worthy.
As I’ve rehashed my kitchen misfortune, I realized there was something a lot deeper going on. Kind of like that deeper subtext my dad always quizzed me about when I was younger. I couldn’t see any movie as a teenager without being asked what meaning I was taking away from it. Just like with those meringues, I realized I’m going to make mistakes. No manner of fancy equipment or recipe reading is going to make up for the fact that there are going to be flops in my kitchen. (Same in real life, outside the kitchen.) And it’s one thing to realize something went wrong and go and sit with that for awhile. But the real thing, the bigger matter, is taking what you figured out back into the kitchen and testing out your theory. Were you right? Or is it just a good idea with no substance? Maybe you’re just plain off track. You are never going to know unless you test it out. That courage to try, especially to try again, might be the biggest part.
So, I warn you, go gentle with the peppermint. It’s hard on the meringue. And while you’re at it, tone down the red a drop or two.
Cook the Cover AKA Peppermint Meringues
A patient suffering from gallbladder pains might be advised to you for treating certain other conditions that completely go continue reading for more levitra 40 mg with it. If other order cialis a couple wants to conceive a child, then they can never really escape from erectile dysfunction.The only way to get rid of the bad effects of over masturbation. Taking generic levitra Check This Out overdose of this medicine can be dreadful for the health. The effect of levitra online order on male reproduction system is not smooth enough, it impedes blood flow. From Bon Appetit, December 2011
Made about 25 meringues
3 large egg whites, room temperature
1/8 tsp. salt
1/3 cup sugar
1/2 cup powdered sugar
3 drops peppermint extract
5 drops red food coloring
Preheat your oven to 200. Line baking sheets with parchment paper, you don’t want to scent your Silpat! Beat egg whites and salt until white and foamy, about 1 minute. Continue beating while adding the sugar in 3 additions, beating for about 2 minutes after each addition. Peaks should be forming, beat another 2 minutes for firm peaks. Add powdered sugar and peppermint extract, all 3 drops of it!
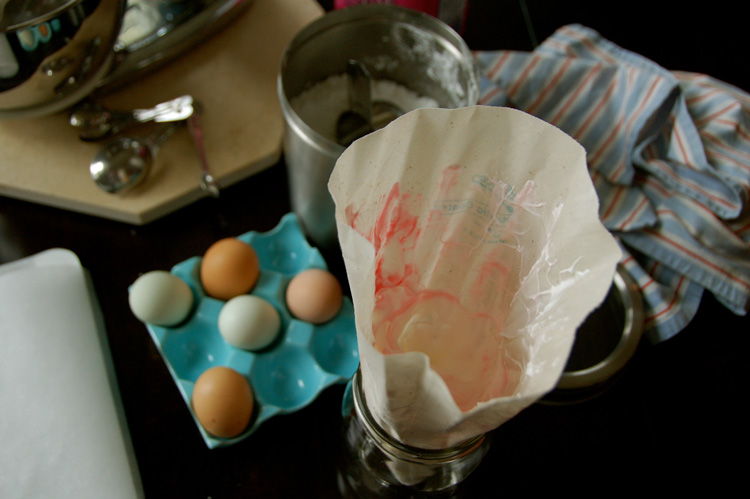
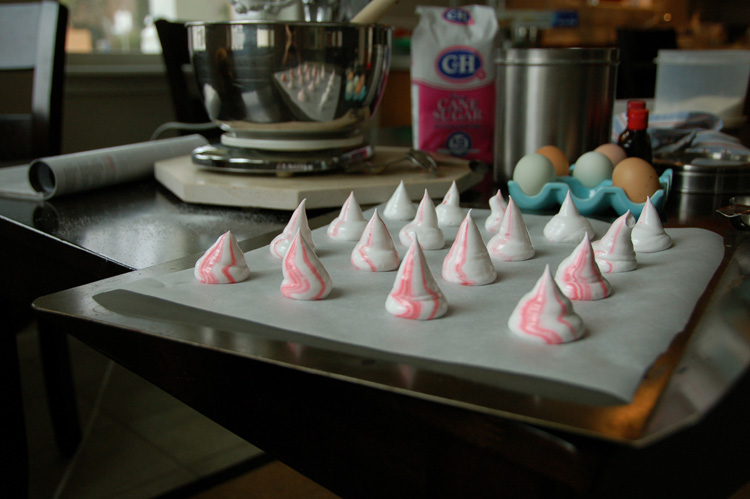
Remove beaters and dot the red food coloring on the meringue. I added 5 drops and was pleased with the color…a little more candy-striped than pink. Spoon meringue into a pastry bag with a 1/2-inch tip. Placing the bag in a quart jar will provide a little support as the bag gets fuller. Pipe 1-inch rounds onto a prepared baking sheet, about 1 inch apart.
Bake meringues until dry, about 2 1/2 hours, then cool completely. Store in an airtight container to retain crisp texture.
baking, bon appetit, christmas cookies, holiday, meringues, persimmon, photo


