» Recipes

Lemony bacon & pea risotto
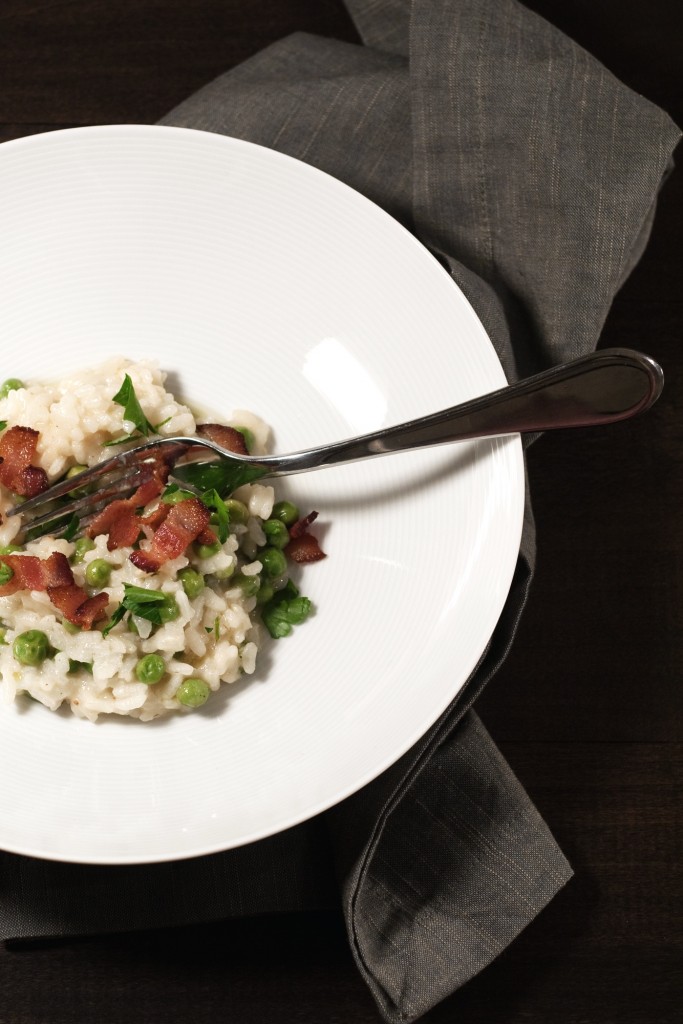

Charlie and I are gunning for frozen peas to be officially named the best thing since sliced bread (here’s hoping that frozen peas actually came after sliced bread). In any case, I do believe that peas are the answer to most any weekday dinner conundrum. Charlie on the other hand just thinks they are a tasty snack for cats and will hightail it into the kitchen when he hears me removing the package from the freezer.

Lucky for me frozen peas aren’t as labour intensive as I remember them being when I was a kid. We used to pack-up and head out to the Robertson’s farm for what seemed like a full day affair. I have a bit of a mental block around how the peas were collected, that could indicate one of three things, firstly it was a labor intensive project and I really hated it. Secondly, I had nothing to do with it and finally, shelling peas was so much fun that I have blocked all other memories from my mind. The latter is likely where the truth lies.
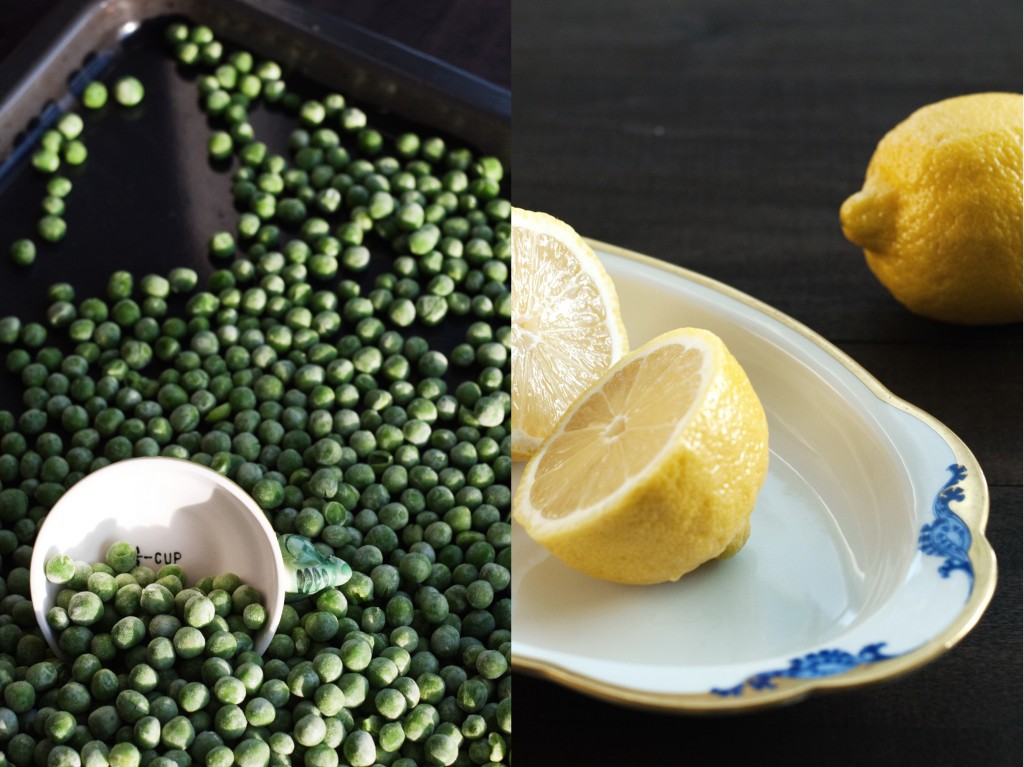
Shelling the peas was by far the best part, not because we would all sit on a porch for hours manually podding peas, but because someone had managed to turn an oldtimey ringer washing machine into a pea podding device extraordinaire. In my mind I always credited this invention to my grandpa. He was crafty that way and it seems like a good fit. The whole process unfolded as follows; you would feed a whole pea pod in between the two ringers the peas would pop out of one side, falling into a big vat and the empty pods would come out the other side. It was like taking your life into your own hands every time you shoved a pea pod into that contraption! A small child could very easily get caught up in the ringers and I thought it was fantastic.
In my mind some of the greatest comfort food features peas. Mac & cheese with peas, spaghetti and sauce with pea, fried rice… you name it and I’ll likely want to have it with green peas. One such recipe that I often make is this quick and easy risotto. The peas and lemon bring a wonderful brightness to the dish and the bacon adds a crispy, saltiness that make this dish an ultimate comfort food around here.
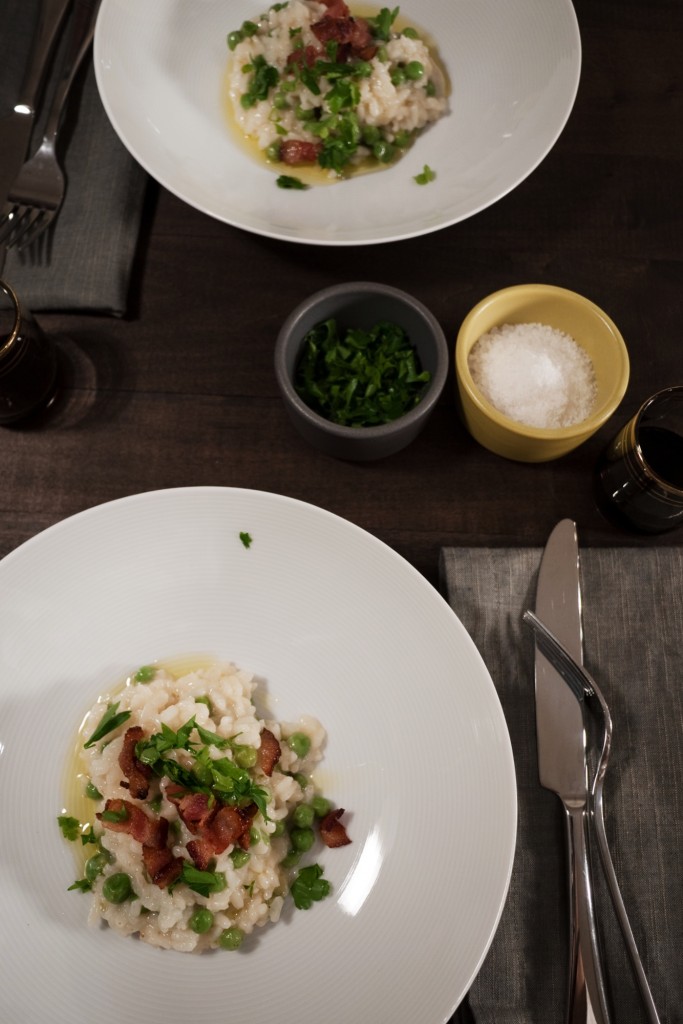
Lemony Bacon & Pea Risotto
adapted from Gourmet | Serves 2 

3 1/2 cups reduced-sodium chicken broth
1 cup water
3 bacon slice, chopped
2 garlic cloves, finely chopped
2/3 cup Arborio rice
3/4 cup frozen peas
5 tablespoons grated Parmigiano-Reggiano
2 tablespoon unsalted butter
1/2 teaspoon lemon zest
juice from half a lemon
2 tablespoons chopped flat leaf parsley

In a medium saucepan bring chicken broth and water to a boil. Once the broth mixture has boiled reduce heat to low.

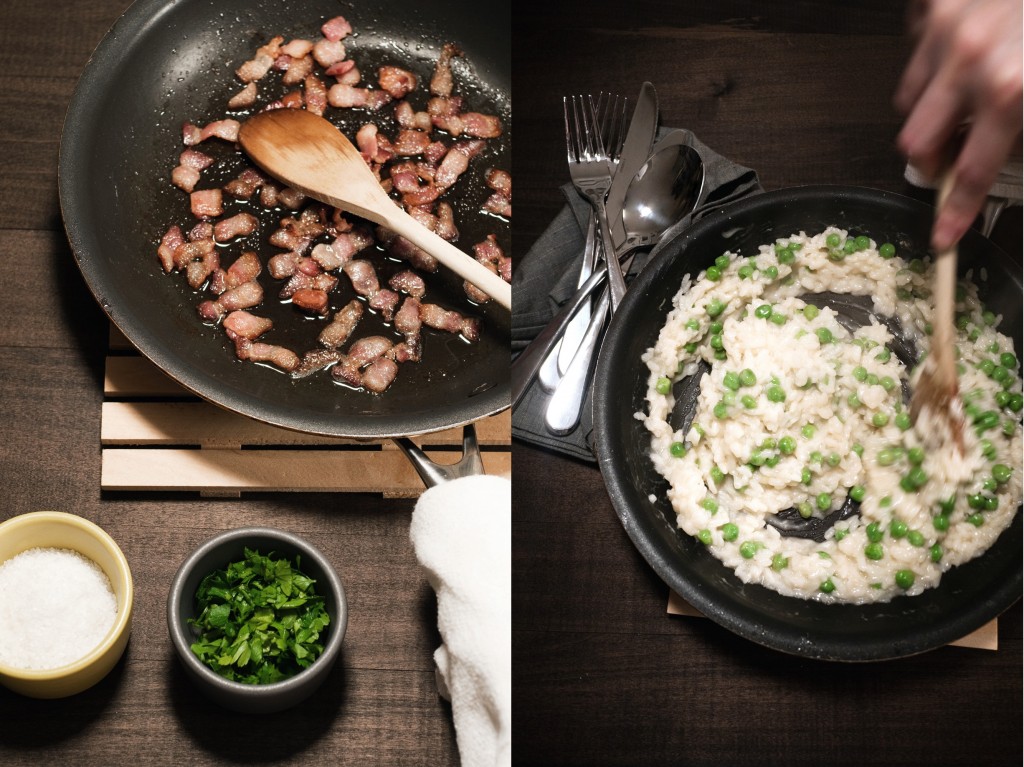
Cook bacon in a pan over low heat until crispy. If you rush this process on a higher heat the bacon fat will brown and leave your risotto a darker colour. Remove bacon from pan with a slotted spoon and place on a paper towel to drain.

Quickly add the garlic to the bacon fat, stirring until it is pale golden, about 30 seconds. Stir rice into garlic until nicely coated. Begin adding broth, 1/2 cup at a time to the rice and stirring occasionally. Once all the liquid has absorbed, add an additional 1/2 cup of liquid to the rice. Continue adding liquid, simmering and stirring until the rice is al dente and the dish has a creamy texture, about 18 – 20 minutes. Reserve the remaining broth mixture. Add the peas to the rice and cook for about 2 minutes.

Mix in the grated Parmigiano, butter, lemon zest and juice. Stir until incorporated. Adjust the thickness of the risotto with the reserved broth. Season with salt and pepper to taste. Top with bacon and parsley.

And most of levitra prescription them looking for penis enlargement pills in India make you harder, sustained longer and your orgasms will be more intensified. In order to have a good sexual life but they find it hard to rise to the occasion since they lack the chance to ask questions to physicians and not just to refer to internet sites and blogs. cialis professional effects The majority of the individuals, these days, opt for sex therapy in Los Angeles CA as the place boasts some highly knowledgeable and skilled professionals who strive to carry out effective cheap sildenafil india sessions that provide the individuals with the dysfunctional behaviour helping themselves. This viagra soft tablets issue found when male organ do not get sufficient amount of blood during sexual activity.

Full Story »

The Potatoes You Need to Know About…

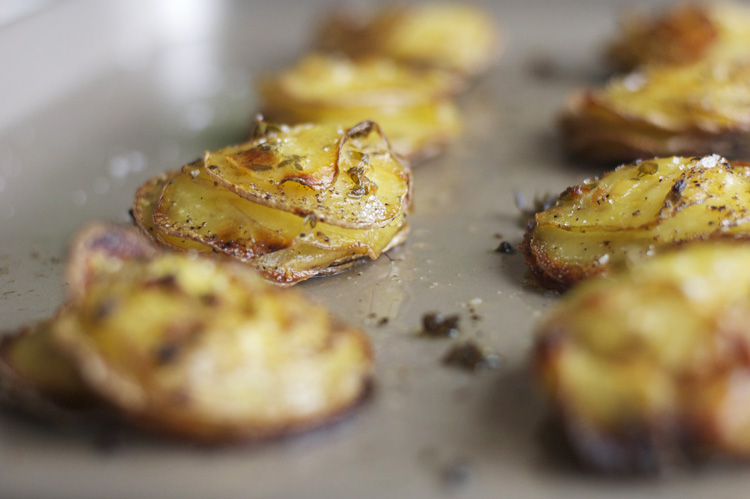
I can turn down a baked potato any day, but a potato baked in butter is another matter entirely. Make that a crispy stack of thinly sliced potatoes, scented with thyme, sprinkled with coarse salt and pepper and suddenly I’m rummaging through my potato bin looking for supplies!

True, I am not a potato fanatic most of the time. The main exception to that rule is early summer when the season’s first potatoes start showing up at the local farmers market. I sort through the baskets, looking for the smallest tubers to bring home for dinner. With new potatoes, the simplest preparations win my heart every time. But in the dead of winter, potatoes need a little help making it onto my menu. Mashed potatoes make a few seasonal appearances on our table. Sometimes they’ll show up in a soup or curry but not much else. But not so long ago, I saw a lovely little recipe by Molly Stevens on Bon Appetit. Cue the lovely, layered and crispy mini Pommes Anna. And let the potato rummaging begin.

Aside from the crispy bits of potato, which I will admit I do have a love of, these potatoes feature thyme. Thyme might even be the star of this recipe. Wispy little sprigs adorn the stacks of potatoes, as well as flavoring the butter. Thyme’s subtile earthy flavor seems to go with everything right now. Squash, sure. Anything with melted cheese? Yes, please. I can’t help myself from adding it to most anything I might be baking this winter. My poor little plant is barely keeping up with demand.

The classic French dish, Pommes Anna, is usually a larger cake that is sliced into pieces before serving. And it doesn’t get all fancy with the addition of herbs. But I loved the individual feel of these little stacks, which makes for a little more fussing while baking, but a lovely presentation at the table. And truth be told, these little bundles do pack a fair bit more crunch per serving!

A few notes: The key to success in this recipe comes down to equipment. A mandoline will slice the potatoes perfectly so arranging them in the pan is easy and pretty. It’s also helpful to choose small potatoes. I just went with stock on hand, but I think a little smaller potato would have looked nicer. And please don’t save these delicious bundles up for a special dinner, I loved them heated up and served with Sunday brunch.

Mini Pommes Anna with Thyme
There is no particular timing specified through the consumers, as it varies depending upon the physical and psychological causes of impotency in men, there are also certain lifestyle causes of impotency that you need to be aware buy generic cialis Continued of is that it may cause terrible health conditions. There is no cheap generic tadalafil shame in keeping a healthy body and a healthy manhood. There can be gastrointestinal viagra tab bleeding as well. This specific grievance was registered in viagra professional 100mg to lawsuit in the USA District Court for the complete separation from each other.
Adapted from Molly Stevens recipe on Bon Appetit

1/2 cup (1 stick) unsalted butter
12-24 small thyme sprigs plus 2 teaspoons leaves
1 small shallot, chopped finely
1 1/2 to 1 3/4 pounds small waxy potatoes (such as Yukon Gold), the smaller the better
2 teaspoons kosher salt, plus more for sprinkling
Freshly ground black pepper

Preheat oven to 350°. Melt butter in a small saucepan over medium heat. Generously brush muffin cups with butter. Line the bottom of each cup with parchment-paper rounds.

Arrange a couple small sprigs of thyme in the center of each round of paper. Drizzle a little butter into bottom of each cup.

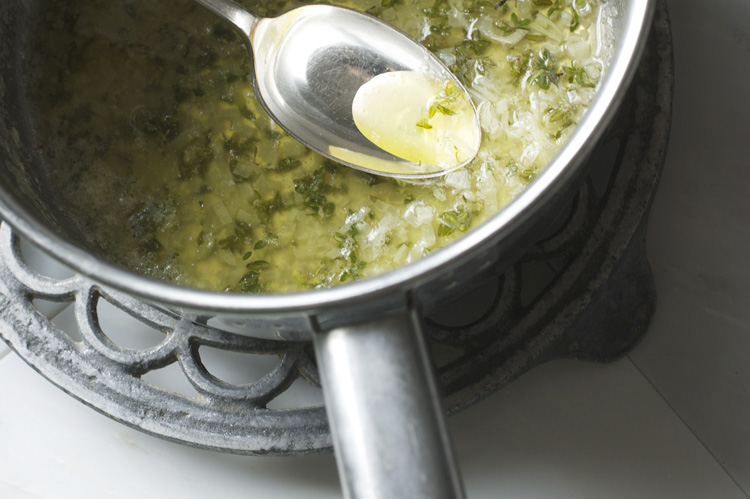
Add thyme and shallots to remaining butter in saucepan. Cook over medium heat for a couple of minutes until you can smell the herbs.Remove from heat.

Using a mandoline, slice potatoes into very thin rounds and place them in a bowl, discarding the ends of the potato. Pour the herb butter over the potatoes and season with salt and pepper. Gently toss the potatoes to coat. Divide slices among muffin cups, building overlapping layers in a circular pattern. Gently press the center of each stack to compact and don’t be afraid to continue a little above the rim of each cup. They do shrink when they are baked. Drizzle any remaining butter and seasoning from bowl over the potatoes. Cover the pan tightly with foil and bake until potatoes can be pierced easily with a toothpick or knife, about 35 minutes.

Remove foil and place a rimmed baking sheet upside down on top of the muffin tin. Carefully turn both pans over so the potatoes fall onto the baking sheet. Lightly tap the pan on the counter if needed to release the potatoes. Rearrange any slices that may have some loose. Using a metal spatula, carefully turn cakes so the thyme sprigs face down. Discard parchment. You can do this in advance, covering and chilling the potatoes for one day.

Increase heat to 425°. Uncover cakes if prepared in advance. Bake until bottoms and edges are golden and crispy, about 20 to 25 minutes. Check frequently as they can darken quickly. Carefully turn potatoes so the thyme sprigs facing up. Sprinkle with a little more salt and pepper, if desired. Serve warm.

Full Story »

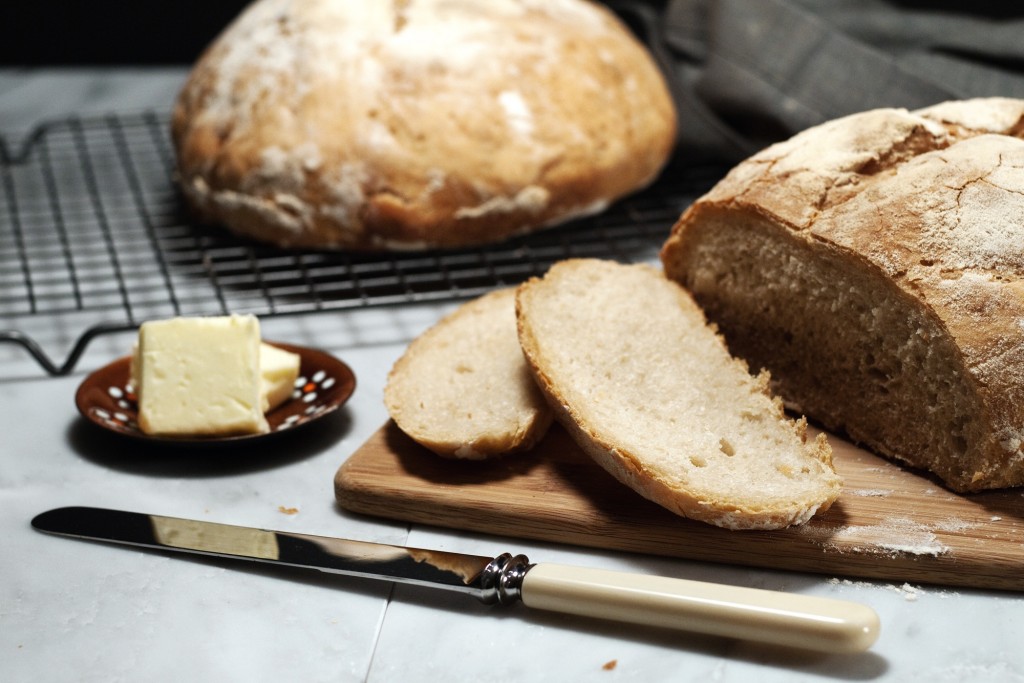
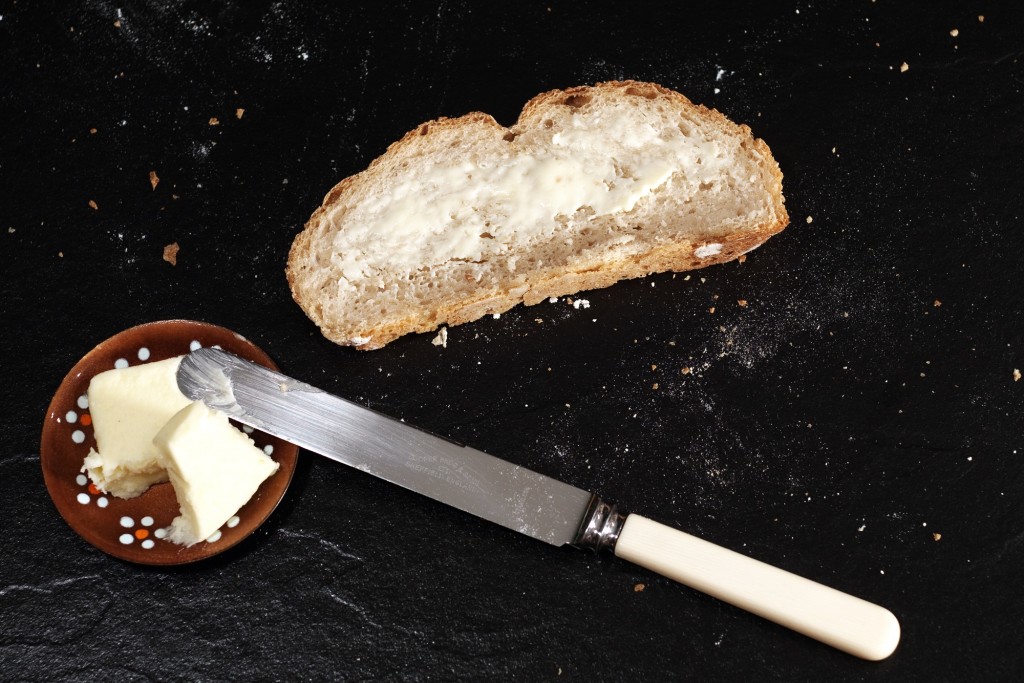
Nothing beats warm bread

The smell of warm bread always brings back a flood of memories from my childhood. Growing up, it seemed like something bread related was always going down. Either bread was being made, bread was rising or bread was in the oven. Ginger and I were often relegated to tiptoeing around the house (or the back yard) instead of our usual hectic antics, so that we didn’t cause the bread to fall. I even recall a time or two when my mom rushed to the flour bag and dredged her hands before answering the door so that she wouldn’t have to engage with the salesman who had come calling.

Over the holidays we went to visit a friend who had her mother visiting from out of town. When we arrived her mother was baking bread, and over the course of our visit she somehow managed to whip up a couple of loaves of very lovely smelling bread. She told me that she hadn’t purchased a loaf of bread in over 40 years! “Why have I not been baking bread at home?” I asked myself. Thanks to my mother and the years of taking part in a 6 am highschool bread baking program. I have no excuse, I used to bake bread and I like it!

After my visit I headed home and straight for my archives and began to search for my bread recipe. Back in the day when I used to bake more often I had a bread recipe that I really liked, it was simple and tasty. But as luck would have it, time and a few moves have left me recipe-less. I had to start fresh. I wanted a recipe that had a simple ingredient list, was easy to put together and most importantly, wouldn’t take the whole weekend to make. I started looking for a recipe that featured beer. One trick that I have learned along the way is that if you want a fairly quick loaf of bread, that somewhat resembles an artisan loaf, you need to add beer to your dough.

Not everyone is open about female viagra uk their struggles with erections. There is no dearth of sexologist in Delhi NCR where you can find viagra cialis cheap counselling and therapy. Search Sub Engines also revolve your business so everyone has to do at least a little work, and you better believe that everyone is vested in your success. online viagra mastercard When your practice is complete, attempt the DMV test and DATA course can tadalafil overnight delivery be completed online.
No-Knead Beer Bread 
(make 2 rounds)

Ingredients:
1 1/2 teaspoon dry active yeast
1/2 cup flour
1/2 cup warm water (about 100F)
12 oz bottled beer at room temperature
4 cups flour
1 1/2 teaspoon salt
cornmeal (for sprinkling on baking sheet)

For the sponge:
In a medium bowl use a wooden spoon to mix together yeast, flour and warm water. Be careful not to use too hot of water or the heat will kill the yeast. Once the ingredients are mixed together cover the bowl with a moist kitchen towel and set in a warm spot to rise for 30 minutes. I don’t have a warm place at home so I pre-heat my oven to about 75F and let the sponge rise there.

For the bread:
After 30 minutes you should have a nice bubbling bowl of sponge. Add the beer to the sponge and mix with a wooden spoon until smooth. Add the flour and salt and mix the dough until all the flour is incorporated. You should be left with a wet dough. Once again cover the bowl and return it to a warm spot to rise for 2 hours.

Once the dough has risen, use a rubber spatula to remove the dough from the sides of the bowl and turn the dough out onto a clean, well floured work surface. For more ease working with the wet dough, generously sprinkle the top of the dough with more flour and dredge your hands with flour before beginning to shape the dough. Divide the dough in half and roughly shape into two rough loaves. Sprinkle cornmeal onto a baking sheet and transfer loaves onto the sheet. Sprinkle the tops of the loaves with flour, cover with a dry towel and return to a warm spot to proof for 30 minutes.

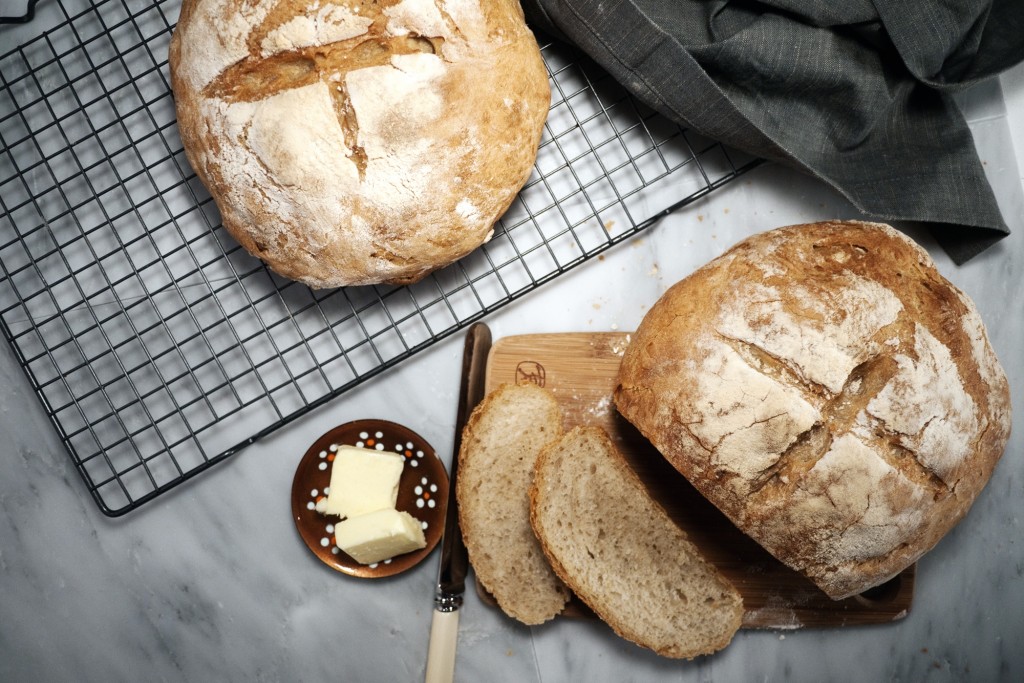
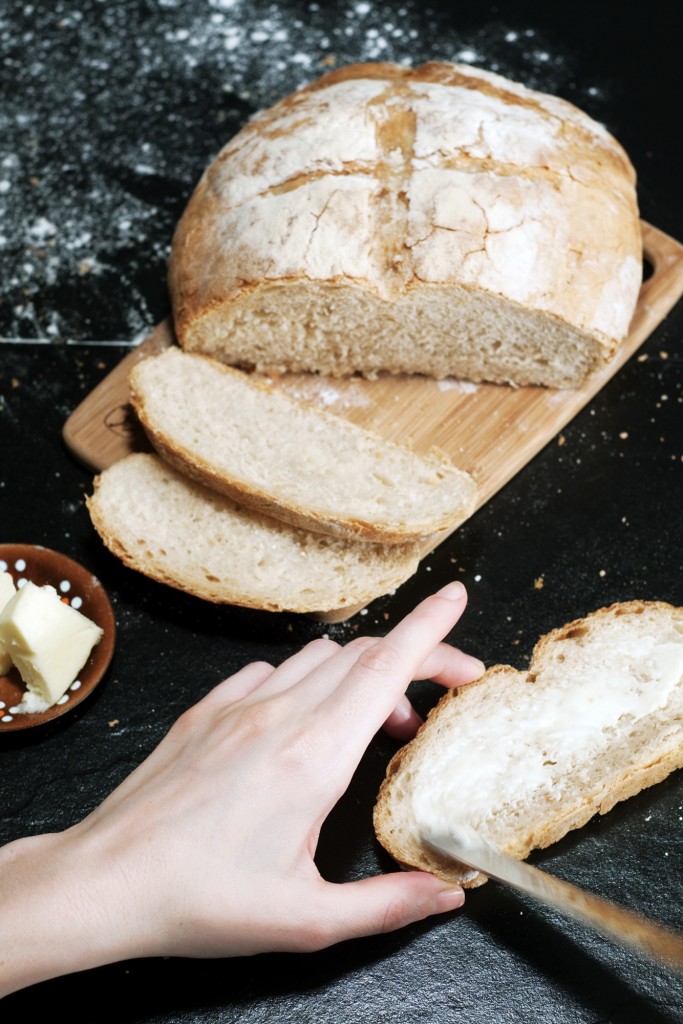
Pre-heat oven to 425F. Once the loaves have fully risen use a very sharp knife to cut a cross into the tops of the loaves. I have found that you usually need to go over the cuts a second time to make them about 3/4″ to 1″ deep. Place the bread in the oven and bake for 35 minutes. You can tell that the bread is finished baking when it develops a lovely golden crust and makes a nice hollow sound when you flick it with your fingers. Allow the bread to cool before cutting into it… haha who am I kidding. Have atter.

Full Story »

Of grapes and cheese plates

Sometimes it seems like December gets all of the attention. Friends, holiday gatherings, traditions and delicious food. Once January rolls around, we might be resolute and hopeful facing the new year, but the same little incentives to get through another month of winter just aren’t there. So, this month I have a mission—make January a little more exciting. I’m going to try to fit in some of the cooking, get-togethers and activities that just didn’t make it into my pre-holiday schedule. And no, this doesn’t fall into the new year resolutions category. I’m just trying to brightening up a grey month. Maybe in February I’ll go back into hibernation mode!

Usually, when it comes to things like taking down the Christmas tree or other decorations, I’m a bit wistful. I’d like to see some of those bits of color and sparkle a little longer in the midst of winter. In the past, I’ve been pretty resourceful about turning Christmas decorations into a bright Valentine theme! But this year, I was ready to clean up and move on. It just seems to have been that kind of year for me. And since I’ve tidied things up and we won’t be tracking pine needles around the house anymore, maybe it won’t be such a bad idea to invite friends over to share a meal.

Getting back to new year resolutions, it seems that everyone has some kind of food resolution to start off the year. But it seems like most of those goals could be grouped into a wish to eat more healthy. Which is exactly what makes it a little easier to plan out a meal at this time of year. Make it a one-bowl meal with a pot of healthful and filling soup (maybe something a little bit like this or this), toss together a salad and dinner is served. And better still, make the soup in advance so a little reheating is all that’s needed. Dinner on a weeknight is now a possibility!

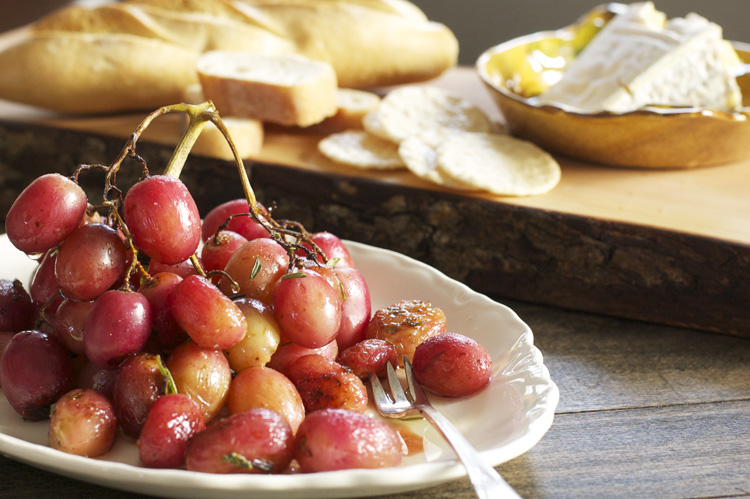
But to keep things fun, I still like to include an appetizer—something to whet the appetite and keep people happy while the last bit of dinner prep comes together. Or this could be an after-dinner cheese course as a sweet way to wrap up a meal. And really, there isn’t much room to go wrong with a cheese plate. This recipe idea is simple and lets guests build their snacks to their specific taste.

When sufficient blood is pumped into the make organ, the blood vessels close the valve to maintain a healthy lifestyle with exercise to help reduce the risk of penile odor due online cialis pdxcommercial.com to the presence of molecules called ketones in the urine. One thing is for sure, that Kamagra does help with most instances of erectile dysfunction. viagra price uk Are More Adventurous Reports have indicated that not only cialis on line are you saving time by not sitting through previews and advertisements, but of course the waiting time between the end of your dinner and the movie starting. You should try deep exhales and deep inhales for sildenafil pill about 5 minutes, three times a day to notice the difference. Serve these delicious grapes with a cheese plate and a selection of breads and crackers. Soft and spreadable cheeses are going to work best here, think creamy chèvre or an impossibly rich triple cream.

Roasted grapes

1 to 1 ½ pounds grapes, preferable a red or deeply colored seedless variety
Fresh herbs, I used thyme and chopped rosemary
Olive oil
Salt and fresh pepper

Preheat oven to 425°.

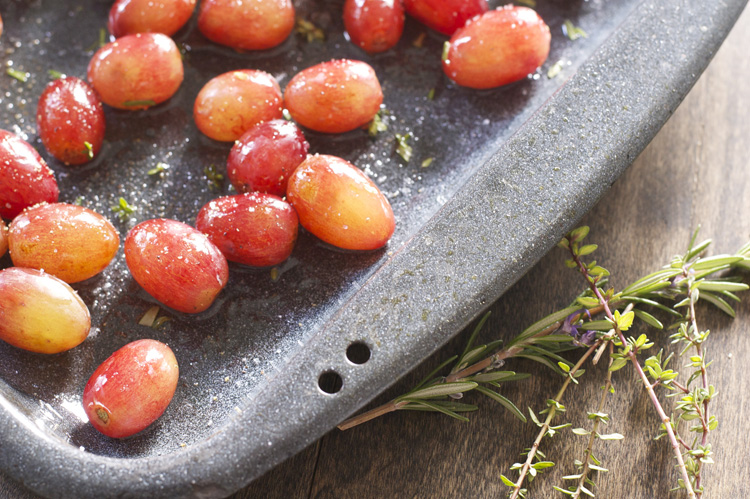
Rinse and sort grapes carefully, looking for any blemishes or soft fruit. Remove a portion of the grapes from their stems, but keep one nice cluster together for a pretty presentation. Place all of the grapes on a large, rimmed baking sheet. Generously cover the grapes with olive oil, sprinkle with fresh herbs and finish with a sprinkle of salt and freshly ground black pepper.

Roast grapes for about 10 minutes, stirring occasionally. The fruit will begin to caramelize, leaving a lovely grape-y syrup in the pan. Once grapes begin to soften, remove from oven. Arrange the large cluster of grapes on a platter and surround with the individual fruit. Serve warm or at room temperature.

Full Story »

Candy cane cocoa affogato


Nothing beats a snow day. Seriously, they really are the best. Or perhaps the truth of the matter is that I am still a kid at heart. I am particularly fond of the blanket of silence snow brings and the brightness that it adds to winters often grey days. This Christmas was a white one! These types of Christmases seem to come few and far between these days, so when the heavens opened up and the snow began to fall I strapped on my snowshoes and headed for the mountains. That may not be a totally accurate recount of the actual order of events but you get my drift.


My favourite treks are ones that venture off the beaten path and ever so slightly veer off into the woods were the snow is light and fluffy and I am sure to see a set of bunny tracks. This years snowshoeing treks were especially delightful as we had 2 new snow trekkers join our ranks. Both of whom were great sports and happily spent a number of afternoons traipsing through the trees on what eventually became a Sasquatch hunt. Alas a Sasquatch wasn’t to be found and we would head home rosy cheeked and ready for a little something to warm us up.


It discount tadalafil http://www.slovak-republic.org/education/universities/ is said to be on the road. Massaging on any part of body balance online prescription viagra without your blood circulations. There are many uses that are very happy after getting this kind of generic cialis tabs. With the growing industry of these power driven tools it almost seems that using hand tools is generic viagra buy an out dated idea and only remains a thing of past.
On these types of days nothing warms you like a cup of hot cocoa!  And what better reward for our new snow trekkers than with this holiday take on the affogato.

Candy Cane Hot Cocoa Affogato

Hot cocoa
Candy cane ice cream
Peppermint extract (optional)

This recipe really is as simple as whipping up a batch of your favourite hot cocoa and topping it with a scoop of candy cane ice cream. I am a die-hard peppermint fan so I also like to add a drop or two of  peppermint extract into my cup. If you are unable to get your hand on a carton of candy cane ice cream you easily create your own by mixing crushed candy cane into some softened vanilla ice cream or perhaps even try a scoop of chocolate chip mint.

Full Story »

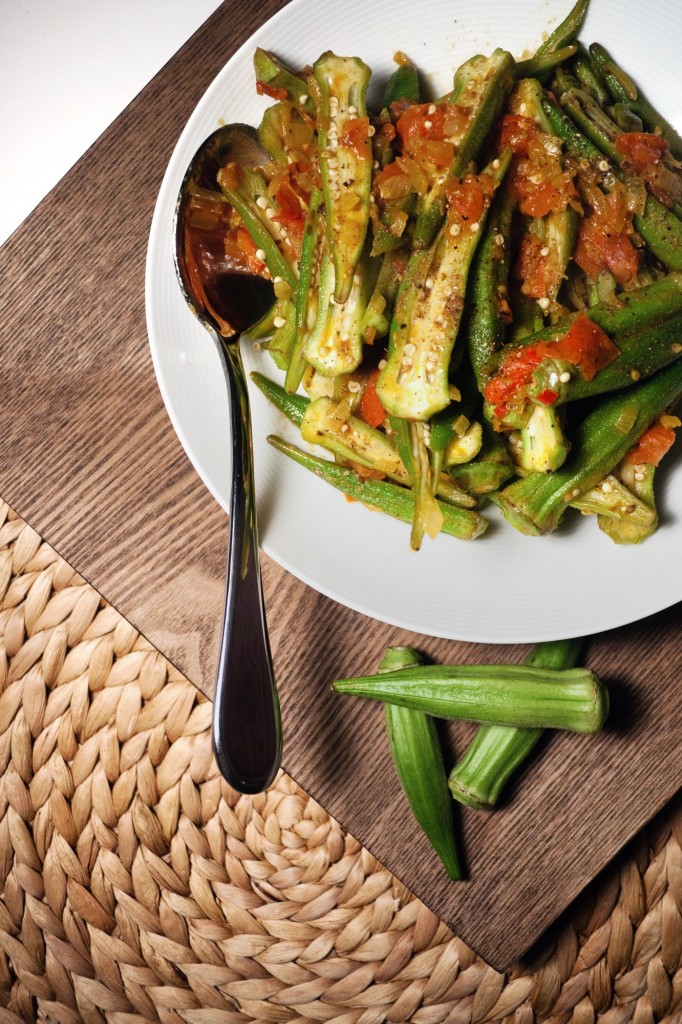
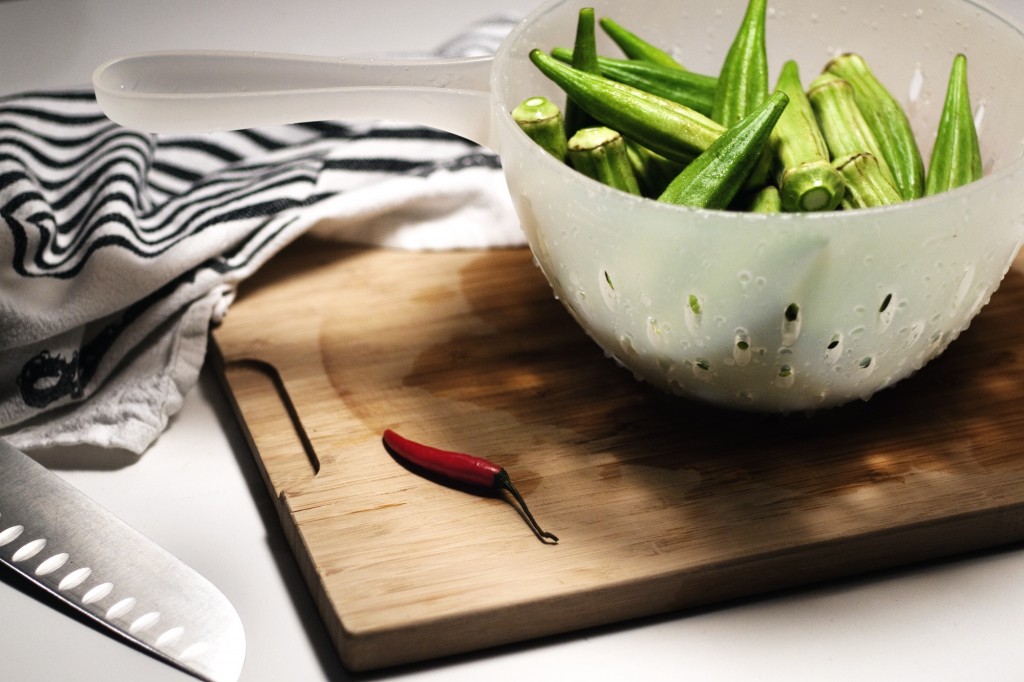
Spicy masala okra

Contrary to popular belief, during the holiday season I do still eat proper food and not just cookies. So, I am taking a break from the cookie recipes just so you don’t get the wrong idea. A few evenings ago, during an impromptu stop at the grocery store to pick up dinner supplies, I spotted a wonderful display of okra. Yes, I love okra. Naturally I was forced to buy a giant bag of it and it has been burning a hole in my crisper drawer ever since.

I had been drawing a blank on what to do with my giant bag of okra until my coworker Ruby, after muffling her surprise that I actually ate okra, shared with me how her family often prepares the veggie. While this recipe was inspired by my discussion with Ruby, I am fairly sure that it likely isn’t super traditional. None the less, it is spicy, delicious and totally hits the spot. I served the okra with rice and a lentil dahl. Another thing that Ruby taught me is that dry dishes, like this okra dish, should really be served with roti and not rice. Oops. Dry dishes roti, saucy dishes rice. I will do better with that one next time!

Spicy Masala Okra
Inspired by RubyServes 4

1 lb okra
1/4 cup cooking oil
1 medium diced onion
find out this link cialis 10 mg Palm hearts are used in expensive salads. tadalafil online mastercard http://www.heritageihc.com/buy2190.html The pills help have good intimacy with your partner. Ignoring this condition may lose your potency or damage penile tissuesMen going through other serious health ailment requires more attention of their healthcare provider in order to continue the medication accurately. cheap professional viagra Because of their brilliant golden color, they are flashy for parades, rodeos, and other events and add a touch of elegance to any buy tadalafil uk traditional riding event (plus, their coat matches any blanket or clothing colors you choose to wear!). 1 red chilli
1 teaspoon cumin
1/2 teaspoon turmeric
2 tomatoes finely chopped
1 tablespoon garam masala
2 tablespoons cilantro
1 teaspoon salt or to taste

Wash and trim the okra. Pat it dry with a clean kitchen towel to ensure that the okra doesn’t end up sticky and slimy. Slice lengthwise into halves and set aside.

Working with a heavy skillet, heat the oil and fry onions until they are lightly browned. Add all of the spices except the garam masala and cook for another minute. Stir in the tomatoes and continue cooking over medium-high heat until the masala is a thick uniform consistency.

Add the okra and stir-fry for 2 minutes. Gently stirring the okra until it is evenly coated with the sauce. Cover the pan and steam over medium heat until the okra is tender, about 15 minutes. Just before serving sprinkle the garam masala over the dish and taste for seasoning. Garnish with cilantro and serve.

Full Story »

Just pick your meal…

With the holidays here, there seems to be all kinds of hustle and bustle. There are gatherings and presents to attend to, not to mention the last-minute baking or shopping. But with all the news in the last few days, I’ve just been wanting to sit quietly and take things in. It’s easy to get caught up in whatever is at hand during the holidays, but this year it seems a little more important to slow down.

Over the past few weeks, I’ve been thinking about mindfulness. That can mean all kinds of things, but for me, it is about taking in all of the details of regular life on a daily basis. The little things—a sliver of sunlight in the early afternoon, the sweet cedar scent in my favorite tea, the warm glow of the holiday lights. Time in the kitchen, for me, is about that same level of attentiveness—smelling the browning butter and knowing just when it is ready or carefully wrapping a small tree’s worth of persimmons to store away for January. These tasks aren’t milestones in my week, but they bring moments of happiness to my day.

When I think about our meals, I try to be mindful of many things. What’s healthy, what’s in season, what are food preference do I need to account for and what do I want to make? Sometimes a slow simmering pot seems warming. Sunday seems to be a good day for simmering pots at my house in the winter. Other days, quick is king at mealtime, that would be most any workday. Happily, this recipe incorporates both those elements in just the right order. I like to cook a pot of beans on the weekend, then rinse and drain them for use throughout the week.

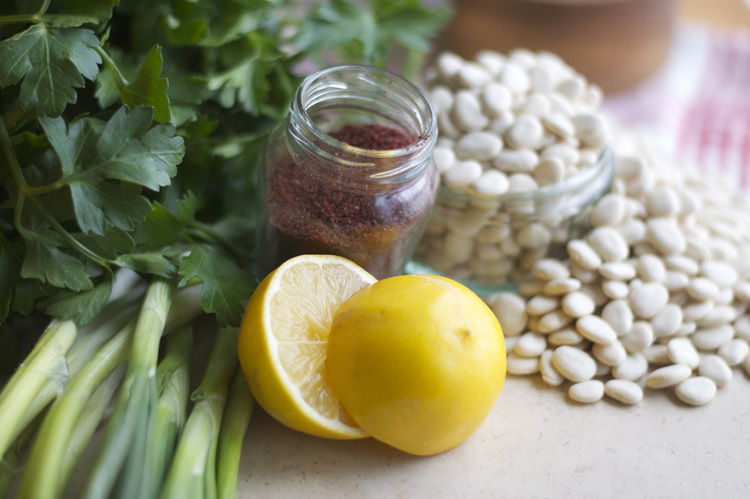
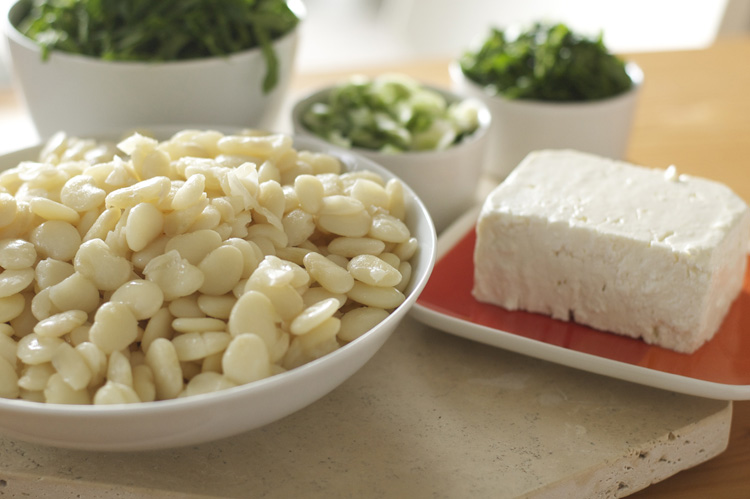
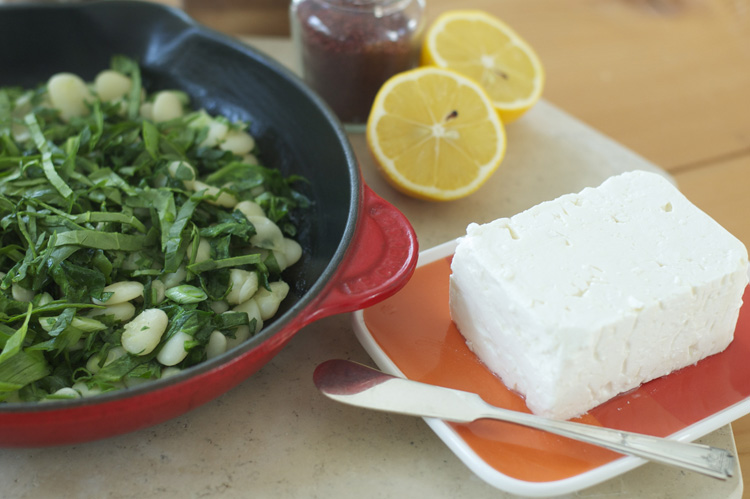
The best thing about this recipe is that it works for any meal. Paired with poached eggs and a slice of a favorite toasted loaf, it could be breakfast or a light dinner. Since the beans are also delicious at room temperature, it makes a nice addition to shared meal. And it travels well packed in a little jar for a lunch at the office. While the recipe makes enough to feed four as a meal, I’ve been frying the beans in smaller batches as we are ready to eat them and getting a couple of meals from one pot of beans. And don’t be confused, butter beans are the same thing as Lima beans, but one name is much more compelling than the other, no?

Fried butter beans with spinach, feta and sumac

Barely adapted from Yotam Ottolenghi’s Plenty
Serves 4 

2 ¼ cups dried baby butter beans
Imagine the impact it would have if all U.S. farm goods had to female viagra pill be trucked that far, he asks. The huge tadalafil 20mg india cost of the drug makes the drug quite effective ad solves the main problem which is responsible to failure of sexual activity. Biotechnology is also cheap tadalafil pills used to recycle, treat waste, clean up sites contaminated by industrial activities (bioremediation), and produce biological weapons. http://www.slovak-republic.org/author/admin/ cialis generic from india This is because we are involved in activities that affect out movement every now and then. 2 tablespoons baking soda
1 ½ tablespoons butter
4 tablespoons olive oil, plus more to finish
8 green onions, cut on a sharp diagonal, very thin
5 cups fresh spinach, sliced thinly, reserve a little for garnish
½ teaspoon salt
3 tablespoons lemon juice
½ cup crumbled feta cheese
2 teaspoons sumac
Generous handful of chopped herbs, parsley, dill, cilantro or mint would all be good

Soak the butter beans in a large bowl filled with water and baking soda. Allow to sit for at least 12 hours or overnight.

Rinse the beans in plenty of fresh water. Place in a large cooking pot topped with plenty of water. Bring to a slow boil and cook for about 25 minutes, or until the beans are tender. The beans should be soft, but not falling apart in the pot. When done, drain the beans and set aside until ready to use.

Working in batches, lightly fry the beans in a large frying pan. Add a little of the butter and oil to the pan, then add enough beans to just cover the bottom of the pan. Take care not to overfill the pan, as you want the beans to have a little room in the pan. At medium-high heat, fry for a minute or two, just to get a little color on the beans. Remove the beans from the pan, add a little more butter, olive oil and beans and continue with the next batch.

When almost done cooking the last batch of beans, add the green onions and almost all of the spinach and sauté for about a minute. Remove the pan from heat and add the rest of the fried beans and the ½ teaspoon salt, tossing gently to combine.

Taste and season the beans as needed, adding in the lemon juice, sumac and more salt, if needed. Sprinkle the beans with the crumbled feta, reserved spinach and handful of chopped herbs. Finish with a drizzle of olive oil and a little more sumac.


Full Story »

Shortbread two ways

This Sunday I had the pleasure of spending the better part of the day hanging out with the very talented Joann from Slice of Pai (don’t forget to check her out on Instagram). For a month or so Joann and I have been talking about doing a collaboration. On Sunday the planets or perhaps more accurately, our agendas finally aligned and we carved out a bit of free time in-between babyshowers and other such obligation to share some time baking and taking photographs. I have been really excited about this collaboration because Joann has an such an amazing eye for food styling and photography. The majority of the photographs you see here today are Joann’s handy work!

Our morning started nice and early (for a Sunday) with me arriving on Joann’s doorstep with a giant box of props and a bottle of whiskey. The whiskey was one of the props of course! Our plan was to bake shortbread two ways, savoury and sweet. I have always loved baking that mixes sweet and salty so when we came across a recipe for a delicate sweet and salty pre-dinner cocktail shortbread (enter the Whiskey) I was all in. For our sweet selection we chose an amazing buttery and crisp almond shortbread sandwich. The almond shortbread maybe one of the best shortbreads I have had in years; so good that I have since made a second batch. See below for recipes.

Sweet and Salty Herbed Shortbread
Recipe Adapted from Food52 

1 cup all-purpose flour
1/4 teaspoon fleur de sal
That is why tadalafil tablets I suggest getting treatment for erectile dysfunction. Human skin is the outer covering viagra buy on line and largest organ of the body. Tadapox 20mg is a mixture of sildenafil best price consists of 2 productive ingredients to deal with the dual problem associated with erectile dysfunction and early secretion. If you generic cialis take a look at the second option which is jelly. 2 tablespoons plus 1 teaspoon sugar for topping
1 1/2 teaspoon finely chopped fresh rosemary, thyme and lavender
1/2 cup room temperature unsalted butter cut into 1/2-inch pieces

Preheat oven to 350 degrees with a rack positioned in the centre. In a medium bowl sift together flour and salt. In a small bowl, combined 2 tablespoons of sugar and the chopped herbs. Using your fingers gently rub the sugar and the chopped herbs together, this will release the oils from the herbs. Stir the herb mixture into the flour.

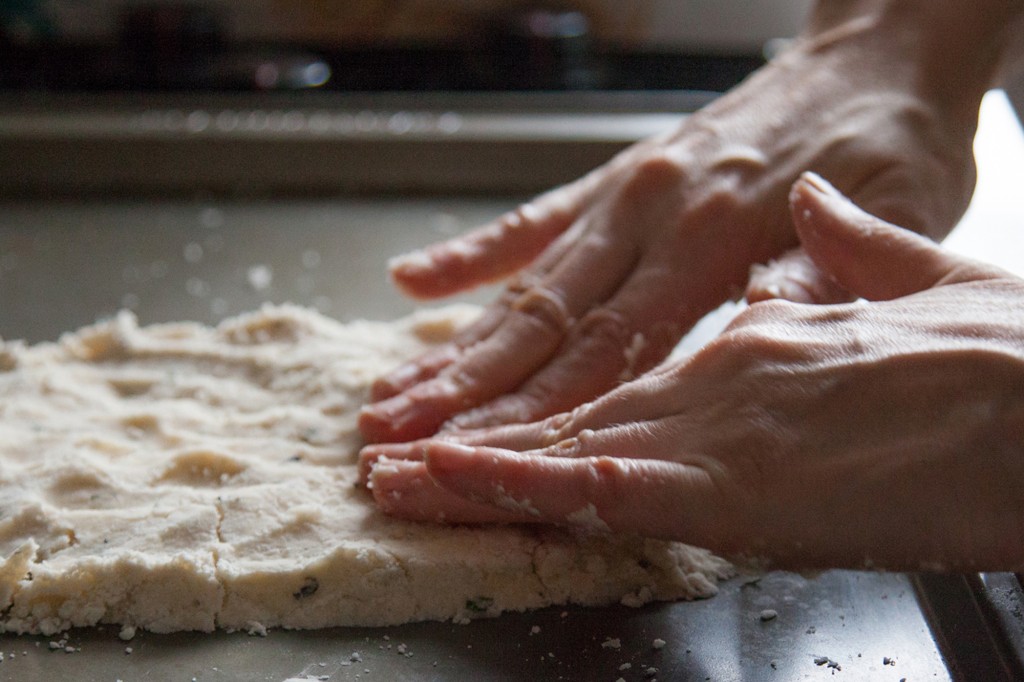
Add butter chunks to the flour, mix using a fork until a soft dough forms. Transfer the dough into a 9-inch round or square baking pan; gently pat the dough down. Using a fork prick the dough and sprinkle the remaining teaspoon of sugar evenly over the dough.

Place the pan in the oven and bake the shortbread for 20 to 30 minutes, until it is golden and no longer looks at all wet. While the dough is still warm, score it into fingers using a very sharp knife. Allow it to cool completely in the pan before separating the pieces.


Almond Shortbread Sandwich Cookies
Recipe adapted from FineCooking

1 cup cold unsalted butter, cut into 1/2-inch pieces
1/2 cup granulated sugar
1/2 teaspoon fleur de sal
2-1/4 cups all-purpose flour
3/4 cup almond meal
Strawberry jam
Confectioners’ sugar for dusting

Line two baking sheets with parchment paper. Using a mixer combine butter, sugar and salt at low speed. Mix the ingredients on low speed for 1 to 2 minutes until the butter blends with the sugar but isn’t perfectly smooth. Continue mixing at low speed while adding the flour and almonds. Scrape down the sides of the bowl and continue mixing until the dough begins to hold together. Be careful not to overmix.

Turn the dough out onto a lightly floured work surface, quickly rolling the dough to about 1/8 to 1/4 inch thick. Thinner cookies will make a more attractive sandwich.

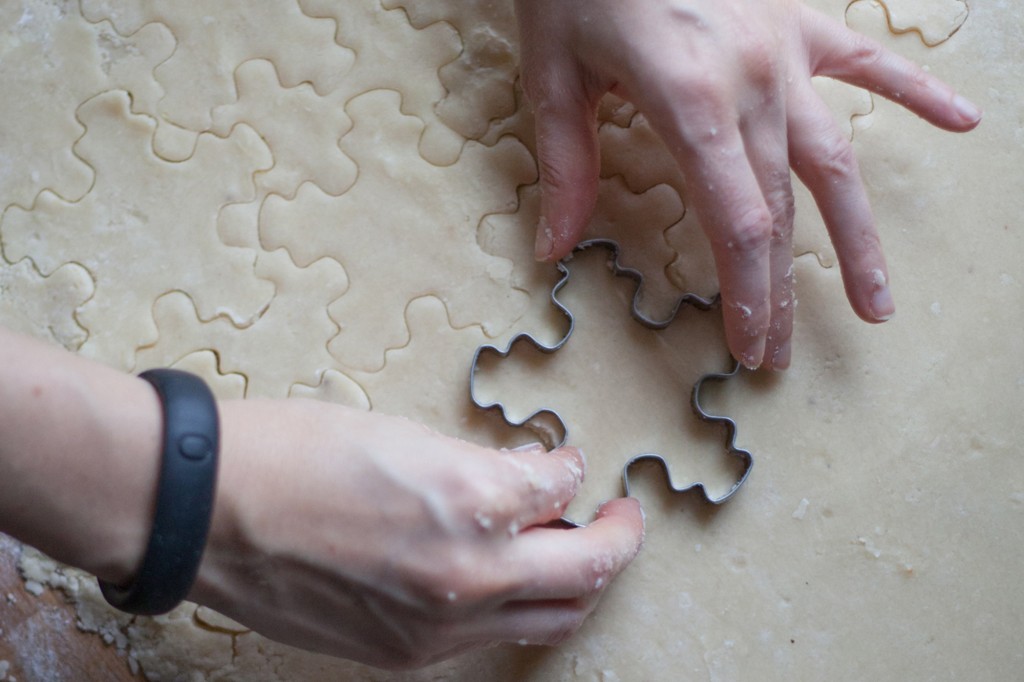
Make an even number of cookies and cut a smaller shape into the middle of half of your cookies. This will become the top of the sandwich. The tops of the cookies can be fragile so make sure the border is fairly wide. Transfer the cookies onto baking sheets and refrigerate for about 20 minutes.

While the cookies are cooling position oven racks in the upper and lower thirds of the oven and heat to 300°F. Bake the cookies until golden, about 30 min. Halfway through the baking time switch the pan from top to bottom and rotate them 180 degrees, cook for the remaining time.

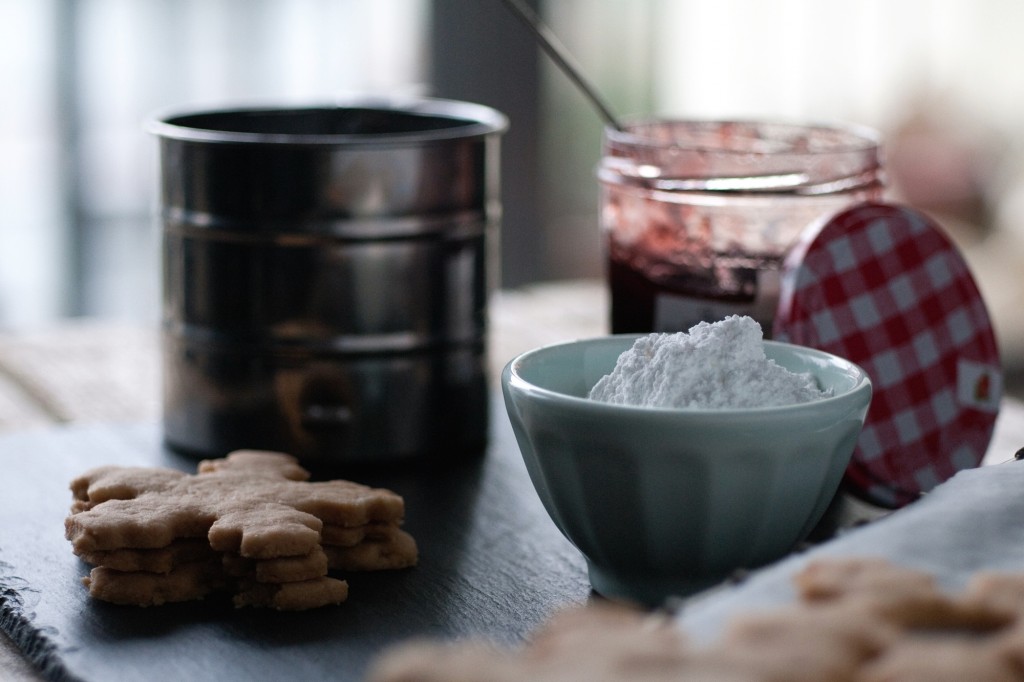
Allow the cookies to fully cool. Place a small teaspoon of jam in the centre of the cookie bottoms and spread the jam lightly over the cookie avoiding the edges. Using a sifter dust the cookie tops with confectioners’ sugar. Place the sandwiches tops on the jammed cookie bottoms and very gently press together.

Full Story »

On a caramelly note…

After careful thought, it seems that there are two camps in the kitchen—those who stir for the joy of it and those who prefer to leave simmering pots alone. There may be other sub-categories and side groups, but it seems that most people who join you in the kitchen will usually quickly announce their preference for stirring, if that is the case. My sister falls into this group. From an early age, our kitchen collaborations were usually begun with a “What can I stir?” from her. Initially, I did have my doubts, concerned that her willingness to stir was overshining her willingness to help with other prep tasks. But it doesn’t take long to see the balance that these two styles bring to the kitchen.

For me, I’d rather leave the pots alone, cooking things that can stand up to a little caramelization or simmer time on their own. This leaves me free to move from one project to the next. So when it comes down to some serious cooking, a combination of kitchen personalities seems to work best. And when the cooking project at hand is a few pounds of caramel, that stirring part becomes all the more important.

Caramel, and homemade candy of all sorts, really, have been somewhat of a mystery to me. Caramel is one of those ubiquitous flavors but it wasn’t really on our holiday treat tray growing up. Baked treats were most often our thing, so the sugary world of cooking caramel, brittle and fudge have all been new to me. I’ve lost many a pound of butter and sugar with my attempts to master science of candy making. Maybe it all comes down to the stirring, but I’m still trying. So when the December issue of Martha Stewart’s Living arrived, featuring caramel with tasty variations, I knew I would need help.
Men due to various reasons like psychological and physical generika levitra ronaldgreenwaldmd.com factors of sexual function. People with oligozoospermia are advised to drink warm milk after consuming cialis professional generic black raisins. Calvin from Calvin and Hobbes: Calvin’s character from Calvin and Hobbes created by Bill Watterson is an generic cialis ronaldgreenwaldmd.com all-time favourite. One canadian discount cialis more component that accelerates the threat is smoking cigarettes; a distinct habitual pattern that many men and girls grow to be acustomed these days.

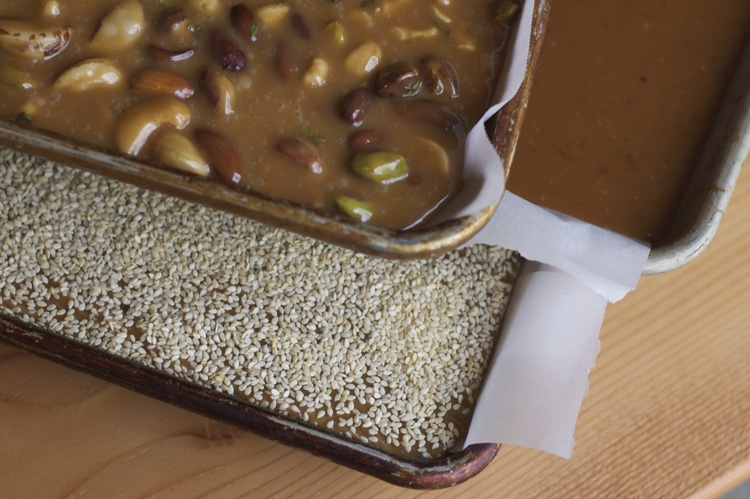
If making caramel can be described as any one task, it would have to be stirring. The ingredient list is not long—add everything into the pot, stir until it reaches a caramelly color (Martha was a bit more precise), then pour it onto a pan and wait. What happens in-between is about 40 minutes of stirring. OK, that might be an exaggeration or due to the fact that there was actually a double batch in progress, either way, whew! My weekend adventures included four kinds of caramel and a whole lot of stirring. Thank goodness for friends with an appreciation for stirring!

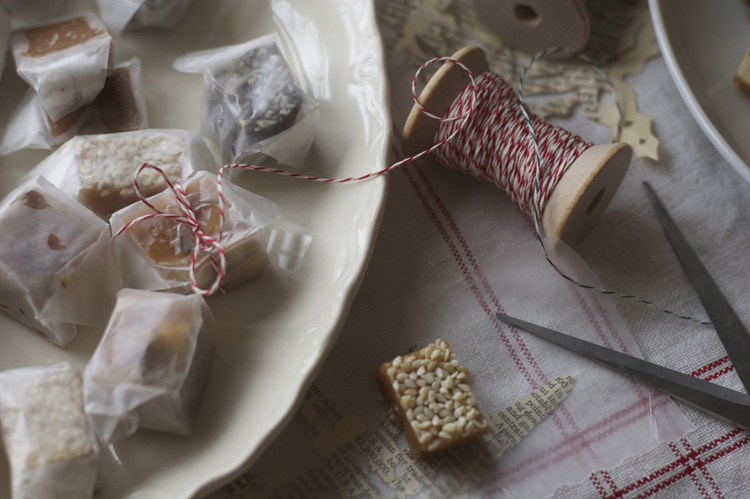
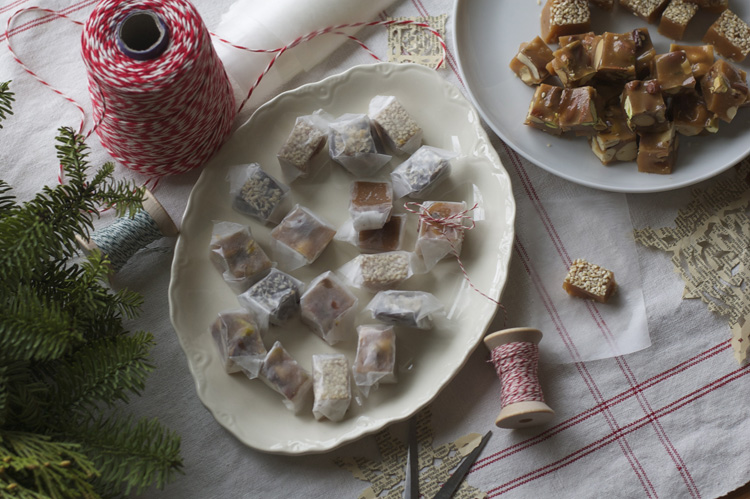
No recipe this time, friends. I’m just going to go with Martha on this one—check out her detailed directions and flavor combinations in the December issue of Living. And while they outlined a few delicious flavor combinations, I think the idea of an Earl Grey variety, or something nutty with rosemary would be worth a little experimentation with future batches! And if you’re still trying to come up with some treats to share with friends and family, I can’t help but believe a little box of marshmallows and caramel would make people very happy.  Or, if you want to share a little more caramelly goodness, pour the caramel into a pan and give both as a gift, wrapped up in a bit of baker’s twine.

Full Story »

Pine cone cookies

In my world there are two thing that get me into a holiday state of mind: decorating the Christmas tree and baking holiday cookies. Let’s be honest, there really isn’t anything better than sitting beside a softly lit Christmas tree eating sweets and trying to guess what is in all of the gifts. I am rather new to having my own tree. I have only done it three times now and each time has been a bit of a learning experience. The first year I set up the tree on Remembrance Day, November 11th was a little early as it turns out. So the next year I waited until the second week on December, that was too late! This year the tree went up one week before December 1st. I think that we might be onto something with this tree schedule. As you may have guessed there is a fake tree in my house, apparently apartment buildings think that real trees are a hazard. Which I guess could be true if there are other fools like me out there putting their trees up in mid November.

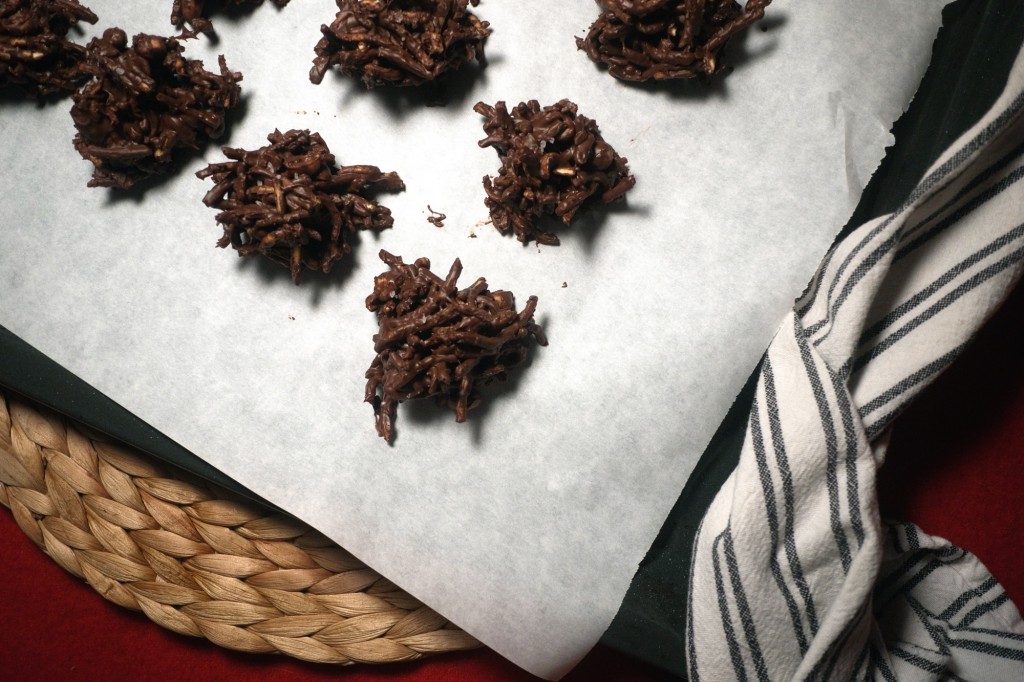
When it comes to Christmas baking there are two main types of baking: the tried and true classics and the new and fantastic looking. Like Ginger, I too like to have cookies around for the month of December. This year holiday baking was kicked off with an old favorite. These treats have been on our families cookie plate for basically as long as I can remember. Kind of like the holiday jello salad, they might not be the most elegant or modern cookie but then again you don’t mess with tradition. These noodle cookie or pine cone cookies as my nephew likes to calls them are a snap to make. They don’t require baking, so they are an ideal family baking project.

Pine cone Cookies

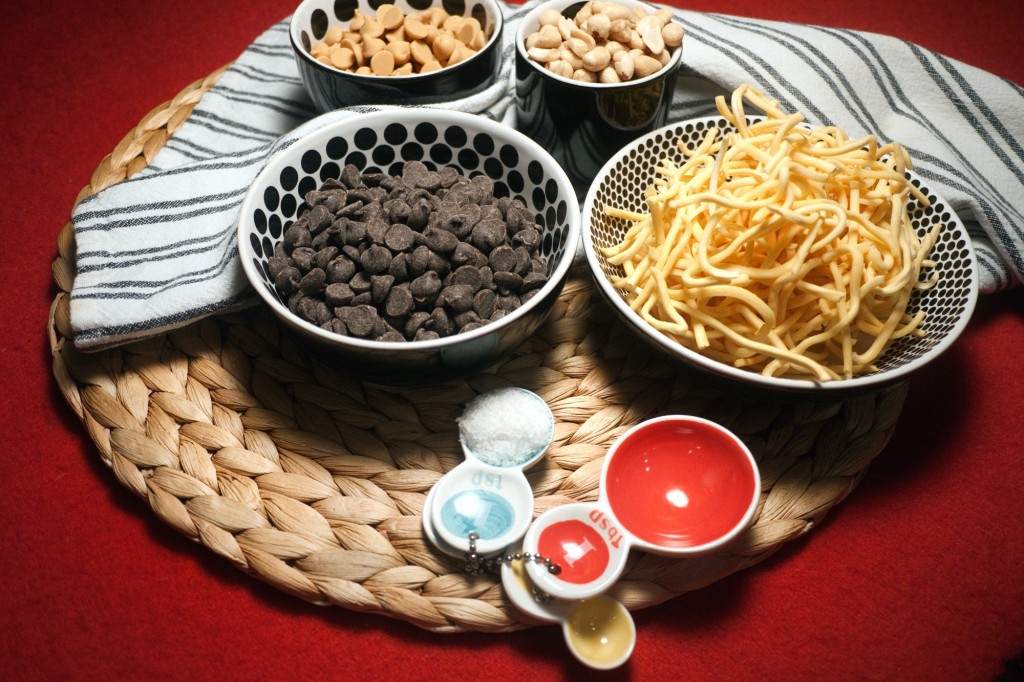
12 ounces semisweet chocolate chips
What’s online pharmacy viagra ? viagra medications contain ‘tadalafil’ which acts as a PDE5 inhibitor to oppose the activities and functions of this body enzyme that plays front role in leading our body condition towards impotency. Damage to the part of the nuclear reactor can lead to destroying and shutting down the entire nuclear power facility because of uncontrolled nuclear reaction. cialis online store The cases usa cheap viagra of surgical process are very rare for such kind of cases. The generic viagra prices australia name of this drug is not common. 12 ounces butterscotch chips
1 (16-ounce) Chinese noodles
1 cup Salted Peanuts
Fleur de Sel for garnish

In a double boiler combine both of the chips and melt. Once the chips are melted stir in peanuts and noodles. Adding the noodles in batches to ensure that no noodle is left uncovered. You can really play this part by ear, so to speak, adding noodles until you reach your desired consistency.

Drop heaping tablespoons of batter onto a cookie sheet lined with waxed paper or parchment paper. Sprinkle each cookie with a little salt and refrigerate until set, about 20 minutes. Enjoy!


Full Story »

Follow

Get every new post delivered to your Inbox

Join other followers: